
Last Updated: October 29, 2026
Quick Summary
Artificial turf installation for a typical residential yard usually takes about one to five days, depending mostly on yard size, slope and preparation needs. Smaller flat yards finish faster, while larger or sloped yards that need old grass and soil removed take longer.
- Yards under 300 square feet are generally installed in about three to four days with two crew members.
- Base preparation, including compaction in passes, is the main factor that shapes the overall timeline.
- Ask installers how many crew members will be on site and how many hours per day they plan.
- Wait before placing heavy items on the turf, and keep traffic and water off seams until the adhesive cures.
Table of Contents
- How Long Artificial Turf Installation Takes for Most Residential Yards
- The Artificial Grass Installation Process, Step by Step
- Artificial Grass Base Preparation: Why It Sets the Timeline
- Day-by-Day Timeline by Yard Size
- DIY Versus Professional Installation Timelines
- Best Time of Year to Install Artificial Turf and Weather Delays
- Booking Your Installation and Getting a Quote
- Frequently Asked Questions
How Long Artificial Turf Installation Takes for Most Residential Yards
The timeline for an artificial turf installation depends far more on preparation than on the turf itself, and the number of days varies with the size and condition of the yard.
Smaller yards with simple, flat ground generally take less time than larger yards, sloped lots, or yards that need old grass and soil removed, which take longer.
Several factors drive the schedule, including yard size, slope, drainage needs and the condition of the ground. Weather and access can also shift the timing.
The Artificial Grass Installation Process, Step by Step
A clear sequence helps you see where the days go. Each step builds on the one before it, so skipping ahead usually creates rework later.
- Site assessment and grass removal
- Excavation and subgrade work
- Base layer installation and compaction
- Weed barrier and turf roll placement
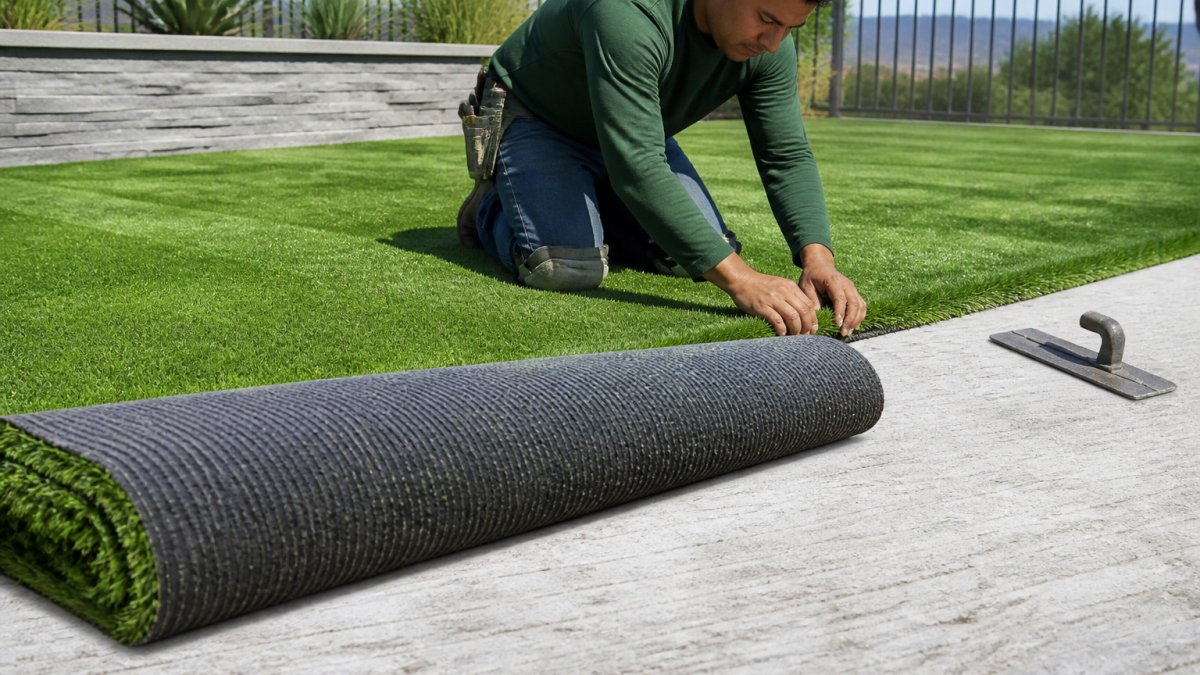
- Cutting, seaming and securing the turf
- Infill and brushing
- Final inspection and cleanup
Much of the work happens in the preparation steps, which shape the final result.
Site assessment and removing existing grass
Before anything else, the yard is assessed, utility lines and low spots are marked, and existing grass and debris are removed. Plan for this step before the turf arrives.
Excavation and subgrade work
Next comes digging down to the right depth so the turf sits level with the surrounding ground, removing soil until firm subgrade is reached. Wet or clay-heavy soil can slow this stage.
Artificial Grass Base Preparation: Why It Sets the Timeline
The base is what keeps artificial turf flat for years. Crews lay a layer of crushed aggregate, then spread and grade it so water drains away from the house. They compact it in passes until it feels firm underfoot.
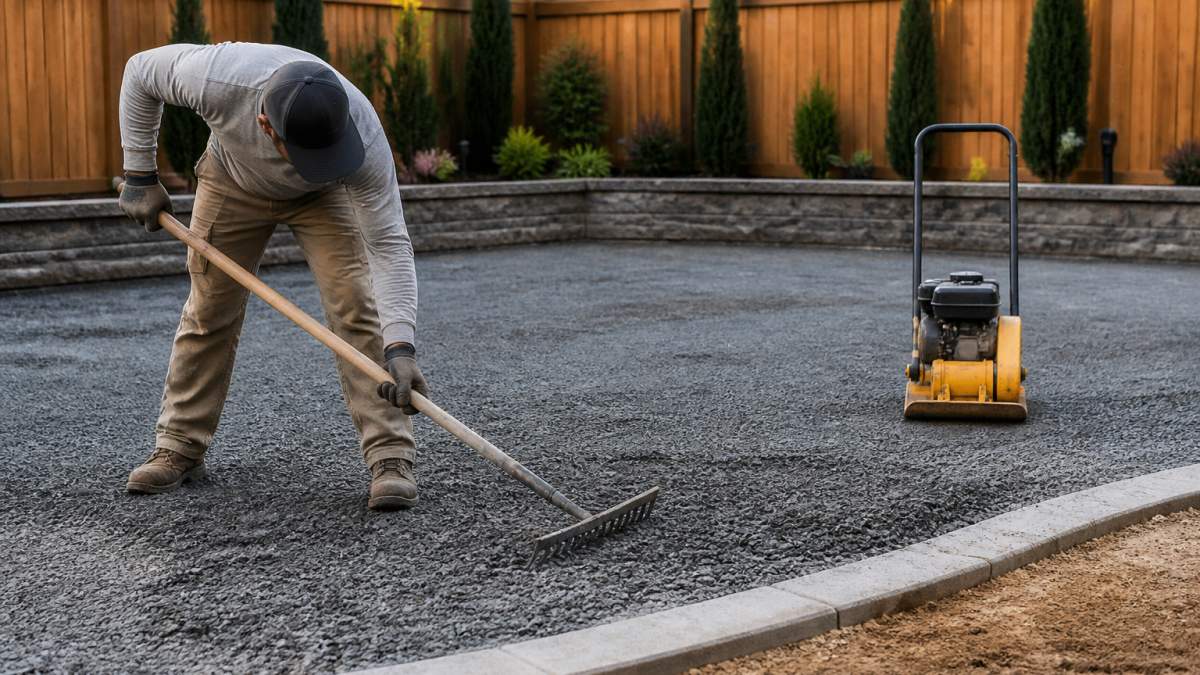
A poor base causes dips, ripples and drainage problems within a season. This is why skilled crews take their time here. Rushing the base can lead to problems that surface after the turf is down.
Compaction of each lift of base material helps protect the finish.
Day-by-Day Timeline by Yard Size
The schedules below illustrate how the work can be broken down by yard size. Treat them as general planning templates, not guarantees, site conditions shift the count.
| Yard Size | Crew | Day 1 | Day 2 | Day 3 | Day 4 | Day 5 |
|---|---|---|---|---|---|---|
| Under 300 sq ft (small courtyard, pet relief area) | 2 | Utility locate, strip sod, excavate | Base, grade, compact | Lay, cut, seam, secure | Infill, brush, final inspection | , |
| 300 to 600 sq ft (typical front yard) | 2-3 | Strip sod, excavate, haul off | Base, grade, compact | Lay, cut, seam, secure | Infill, brush, cleanup | , |
| 600 to 1,000 sq ft (average backyard) | 3 | Strip sod, excavate, haul off | Base, grade, compact (two lifts) | Lay, cut, seam, secure | Infill, brush, edge detail | Final inspection, cleanup, walkthrough |
| 1,000 to 2,000 sq ft (large backyard, play area) | 3-4 | Strip sod, excavate, rough grade | Drainage, base lift one, compact | Base lift two, fine grade, compact | Lay, cut, seam, secure | Infill, brush, cleanup, walkthrough |
| Over 2,000 sq ft or sloped/complex site | 4+ | Site assessment, utility locate, strip sod | Excavate, subgrade, drainage rough-in | Base lifts, compact, fine grade | Lay, cut, seam, secure (may split across two days) | Infill, brush, edge, cleanup |
A few practical notes that the table cannot show:
- Work hours matter more than calendar days. The number of crew-hours needed depends on the size and complexity of the yard, and more hours of work per day shorten the calendar timeline.
- Base work is a common source of schedule variation. Each lift of crushed aggregate needs to be spread, graded, and compacted before the next lift goes down. Soft or clay-heavy subgrade can call for additional preparation.
- Haul-off adds time on larger yards. Removing old sod and spoil means material leaving the site, and staging equipment close to the work area helps keep the work moving.
- Seaming and edge work are detail-heavy. On irregular shapes, curved borders, or yards with multiple tree wells, cutting and seaming can take longer than laying the field turf.
When you request a quote, ask the installer how many crew members will be on site and how many hours per day they plan. Two installers quoting the same four-day schedule can mean very different totals, one may be planning 10-hour days, the other 6-hour days with a long material run.
When the yard is ready to use
The turf is walkable as soon as the crew finishes brushing in infill and cleans up, but a few tasks benefit from a short wait:
- Adhesive curing: Seams are bonded with an adhesive that needs time to set, so keep heavy traffic and water off seams until the bond has cured.
- Infill settling: Infill can settle and shift slightly in the first days after installation, especially on slopes and around edges. A light re-brush can help redistribute it evenly.
- Pet use: If the yard is for dogs, wait until the adhesive has cured and the infill has settled before letting pets dig or run hard on seams. Solid waste should be picked up promptly regardless, and a light rinse keeps odor down.
- Furniture and heavy items: Wait a day or two before placing heavy planters, grills, or play sets on the turf, and use a protective pad under legs to prevent crushing the pile.
In short: treat the first few days after installation as a settling window before normal heavy use.
DIY Versus Professional Installation Timelines
Professional and homeowner-led projects often follow different schedules. The comparison below separates the two paths so you can plan around the labor you have.
Professional installation: what the schedule assumes
A professional schedule generally depends on material delivery, utility locates, permits and site access being in place before work begins. When those conditions are not met, the schedule can slip regardless of crew skill.
DIY installation: where the weekends actually go
A DIY installer should expect the project to take noticeably longer than a professional crew, with the calendar time depending heavily on weather, tool access and available weekends. The breakdown below shows where the time typically goes.
| Stage | DIY time (small yard) | DIY time (average yard) | Why it takes longer than a crew |
|---|---|---|---|
| Planning, utility locate, permit check | 1-3 evenings | 1-3 evenings | Crews do this before mobilization; homeowners learn the rules as they go |
| Tool and material sourcing | 1 weekend day | 1-2 weekend days | Rentals, delivery windows, and store trips eat hours |
| Sod removal and haul-off | 1 full day | 1-2 full days | Manual cutting and wheelbarrow trips; no skid steer |
| Excavation and subgrade | 1 full day | 1-2 full days | Hand tools and a rented plate compactor |
| Base, grade, compact | 1 full day | 1-2 full days | Multiple lifts, each needing spread, grade, and compact |
| Turf lay, cut, seam | 1 full day | 1-2 full days | Seaming and stretching are skill-dependent |
| Infill, brush, cleanup | Half day | 1 full day | Hand brushing and edge detail |
Two patterns stand out. First, the prep stages, sod removal, excavation, and base, take up much of the work time. Second, the calendar time is usually longer than the work time because weekends, weather, and rental availability create gaps between sessions.
Mistakes in grading, base depth or compaction may not show up until later, when dips, ripples or drainage problems can appear. Budget time and money for corrections if any of those steps are rushed.
The honest trade-off
DIY can save on labor cost, but the schedule is usually longer and less predictable, and the responsibility for rework sits with you. If your priority is a faster, more predictable finish, a professional installation may be the better fit. If you have the weekends, tools and patience, DIY is workable, just plan for the calendar time, not the work time.
Ask any installer how many crew members will be on site each day and how many working hours per day they plan. Those details can help you judge whether a schedule is realistic for your yard.
Best Time of Year to Install Artificial Turf and Weather Delays
Spring and fall are often favorable seasons for outdoor installation work, as temperatures are milder and the ground is usually easier to excavate and compact. Summer heat can make the work harder on crews.
Cold and frozen ground can slow base work, and heavy rain is a common cause of disruption at any time of year. Build some buffer time into your plans to allow for weather.
Also confirm that the crew has access to the yard, that gates are wide enough for materials and that any permits or utility locates are done before the first day. Missing paperwork can delay a project before any work begins.
Booking Your Installation and Getting a Quote
Pricing depends on the quantity of turf, the condition of the site, delivery and the amount of preparation the yard needs. Visit our website to request a quote for your project.
When you ask for an estimate, share the yard’s approximate square footage, any slopes or drainage concerns, and whether you have existing grass to remove. Those details help the installer understand your project.
To get started, use our site to request a quote and let the team walk you through the next steps.
Frequently Asked Questions
Is it hard to install artificial grass?
Installing artificial grass is physically demanding but manageable for a capable homeowner. The work involves removing sod, excavating to the correct depth, spreading and compacting a crushed aggregate base, laying and seaming the turf, and securing the edges. Precision matters most in the base layer and in seaming, since uneven ground shows through the turf and poor seams can separate. Many homeowners hire a professional crew for the base and leave the turf layout to experienced installers. Pricing depends on yard size, site condition, and delivery details, so request a quote for current figures.
How long does artificial turf need to settle after installation?
Most artificial turf needs a short settling period after installation, typically a few days, while the infill spreads evenly and the turf relaxes in the sun. Brushing the surface during this time helps the fibers stand upright and distributes the infill. Light foot traffic is usually fine right away, but heavy use, pets, and play equipment are best held off until the surface has settled and any minor wrinkles have flattened. Your installer can tell you the exact expectations for your specific product and yard.
Can artificial grass be installed over an existing lawn?
Artificial grass is generally installed after the existing lawn is removed, not directly over it. Removing the sod and organic material lets the installer excavate to the right depth and build a stable aggregate base with proper drainage. Installing over living grass or soil tends to cause uneven settling, trapped moisture, and weed growth through the turf. Removing existing grass is a standard part of the process and is included in the timeline described in this guide.