
Last Updated: October 29, 2026
Quick Summary
A DIY putting green installation costs less up front but puts the full burden of base preparation, grading, and drainage on you. A professional installation costs more, yet it delivers a consistent, engineered base and installation-backed warranty support. Your choice depends on budget, available time, and how much you care about a flat, true surface.
- Compare quotes only when every one covers excavation, base, drainage, turf, infill, and seaming.
- Rent plate compactors and power brooms, but consider buying seaming and turf-handling tools.
- Build the base in lifts of about 2 inches, compacting each layer before adding the next.
- Check grade with an 8-foot straightedge and level in several directions before laying turf.
- Skipping drainage is the most common DIY shortcut and the most expensive one to fix later.
Table of Contents
- DIY vs Professional Putting Green Installation at a Glance
- Artificial Putting Green Installation Cost: DIY vs Professional
- DIY Putting Green Base Preparation and Grading
- Artificial Grass Installation Tools: What DIY Installers Need
- Pros and Cons of Each Approach
- Climate, Drainage and Long-Term Value Considerations in the South
- Choosing Your Putting Green Path and Requesting a Quote
- Frequently Asked Questions
DIY vs Professional Putting Green Installation at a Glance
Choosing between a DIY putting green installation and hiring a professional comes down to three things: your budget, your time, and how much you care about the finished surface. The trade-offs below reflect the decisions homeowners face most often when choosing between the two routes.
A DIY installation lowers the labor bill but puts the full burden of base preparation, grading, and seaming on you. See real installed projects to judge the finished result for yourself.
| Factor | DIY | Professional |
|---|---|---|
| Upfront cost | Lower (materials only) | Higher (materials plus labor) |
| Time investment | Many weekends | Typically completed in days |
| Base quality | Depends on your skill | Consistent, engineered base |
| Warranty support | Limited to materials | Installation-backed |
| Best for | Hands-on owners with time | Owners who want a finished green |
Artificial Putting Green Installation Cost: DIY vs Professional
The cost gap between DIY and professional installation is real, but the total number depends on factors that vary from yard to yard. Materials, base aggregate, drainage components, and disposal of existing sod all affect the bill.
When you compare quotes, make sure each one covers the same scope: excavation, base, drainage, turf, infill, and seaming. A low DIY materials quote can look attractive until you add the tools and aggregate you will need to buy.
The line items that actually drive the bill
Most putting green budgets break into five buckets, and the split between them is what separates a DIY number from a professional one:
- Excavation and disposal. Removing existing sod, soil, or concrete and hauling it away. Disposal fees and dumpster rental are easy to overlook on a DIY plan.
- Base aggregate. Crushed stone and decomposed granite are sold by the cubic yard, and the volume scales with depth and square footage. A 15-by-20-foot green at a 4-inch compacted base needs roughly 4 cubic yards of aggregate before compaction losses.
- Drainage components. Perforated pipe, drainage mat, and filter fabric. Skipping these is the most common DIY shortcut and the most expensive one to fix later.
- Turf and infill. Turf is priced per square foot, and putting green turf costs more than landscape turf because of fiber density and stitch rate. Infill (silica sand or acrylic-coated sand) is a separate line.
- Labor and equipment. This is where the DIY-versus-professional gap lives. Professional labor covers grading, compaction, seaming, and finishing; DIY labor is your weekends.
Tool rental vs. purchase economics
This is the decision most DIY guides skip. The heavy tools fall into two categories:
- Rent, don’t buy: plate compactors, sod cutters, power brooms, and walk-behind spreaders. These are used for a few hours on a single project, and rental yards price them by the day or half-day. Buying a plate compactor for one green rarely pays back.
- Buy, keep: utility knives, straightedges, levels, seaming irons, turf-handling clamps, and hand tampers. These are inexpensive, reusable, and often needed again for repairs or future projects.
The trap is renting the cheap tools and skipping the expensive one. A plate compactor rental is a small fraction of the project budget, but a base that was not properly compacted can require tearing out the turf and starting over, which costs more than every tool on the list combined.
The long-term ROI angle most guides miss
Upfront cost is only half the financial picture. A professionally installed, properly drained putting green protects the investment in two ways that a DIY surface often does not:
- Durability. A base that drains correctly and was compacted in lifts resists settling and rutting, which extends the useful life of the turf and delays replacement.
- Property value. A finished, low-maintenance practice green is a visible amenity at resale, and buyers respond to a clean, level surface. A wavy or poorly drained DIY green reads as a project to fix, not a feature to enjoy.
Weigh the ongoing savings from eliminated watering, mowing, and fertilizing against the upfront number, then factor in the cost of correcting a bad base. For many owners, the professional route is the lower total cost of ownership even when the sticker price is higher.
Build a single spreadsheet that lists every line item above for both routes, including tool rental days and disposal fees. The route with the lower total is rarely the one with the lower materials quote.
DIY Putting Green Base Preparation and Grading
The base decides how a putting green plays, and this is where most DIY projects go wrong. A proper base usually includes excavation to the correct depth, compacted crushed stone, and a sub-base that drains water away from the surface.
Watch out: a base that looks level by eye often settles unevenly after the first few rains. Check your grade with a long straightedge and a level in several directions before you lay any turf, and compact in lifts rather than all at once.
The base layers, in order
A putting green base is built in layers, and each one has a job:
- Excavation. Dig out the footprint to a depth that accommodates the base, the drainage layer, and the turf. The total depth depends on the turf system and whether you are adding a drainage mat.
- Subgrade preparation. Compact the native soil and check for soft spots. Any area that deflects underfoot will telegraph through the finished surface.
- Drainage layer. On poorly draining soils, a layer of open-graded gravel or a drainage mat directs water away. In humid, high-rainfall regions, this layer matters more than in dry climates.
- Base aggregate. Crushed stone with fines, compacted in lifts of about 2 inches at a time. Compacting the full depth at once leaves loose material at the bottom that settles later.
- Fine grading layer. A thin layer of decomposed granite or stone dust screeded to final grade gives the turf a smooth bed and lets you fine-tune slope.
Grading mechanics that make putts roll true
A putting green should be level to very slightly sloped, and the slope should be consistent rather than crowned or dished. Use a long straightedge (8 feet or more) and a spirit level in multiple directions, and check the same spots after a rain to see where water pools.
Compaction is the other half of the equation. A plate compactor run in overlapping passes, in lifts, produces a base that resists settling. Hand tamping is not a substitute for a plate compactor on a green-sized area.
Climate-specific challenges: freeze-thaw and humidity
Most DIY guides ignore climate, but it changes how you build the base:
- Freeze-thaw cycles. In regions that freeze, water trapped in the base expands and heaves the surface (Chapter 7 (continued) – NHI-05-037 – Geotech – Bridges & Structures). Proper drainage and a compacted, well-graded base reduce the risk, and edging that holds the perimeter helps prevent movement.
- High humidity and heavy rain. In hot, humid regions, a base that holds water stays soft and uneven, and the turf can develop odor or mold issues. A drainage layer and a slope that moves water off the green are not optional here.
A base that looks level by eye often settles unevenly after the first few rains. Check your grade with a long straightedge and a level in several directions before you lay any turf, and compact in lifts rather than all at once.
Performance testing: benchmarking your DIY result
Once the turf is down, you can measure whether your green plays like a professional installation. A Stimpmeter is the standard tool for measuring ball roll speed, and while most homeowners do not own one, many turf suppliers and golf shops will lend or rent one. Roll a few balls from the same spot in different directions and compare distances; consistent roll across directions means your grade and compaction are working.
Base preparation is the highest-risk part of a DIY putting green. If you cannot rent a plate compactor, verify grade with a long straightedge, and build a drainage layer appropriate to your climate, the professional route is usually the cheaper decision over the life of the green.
Artificial Grass Installation Tools: What DIY Installers Need
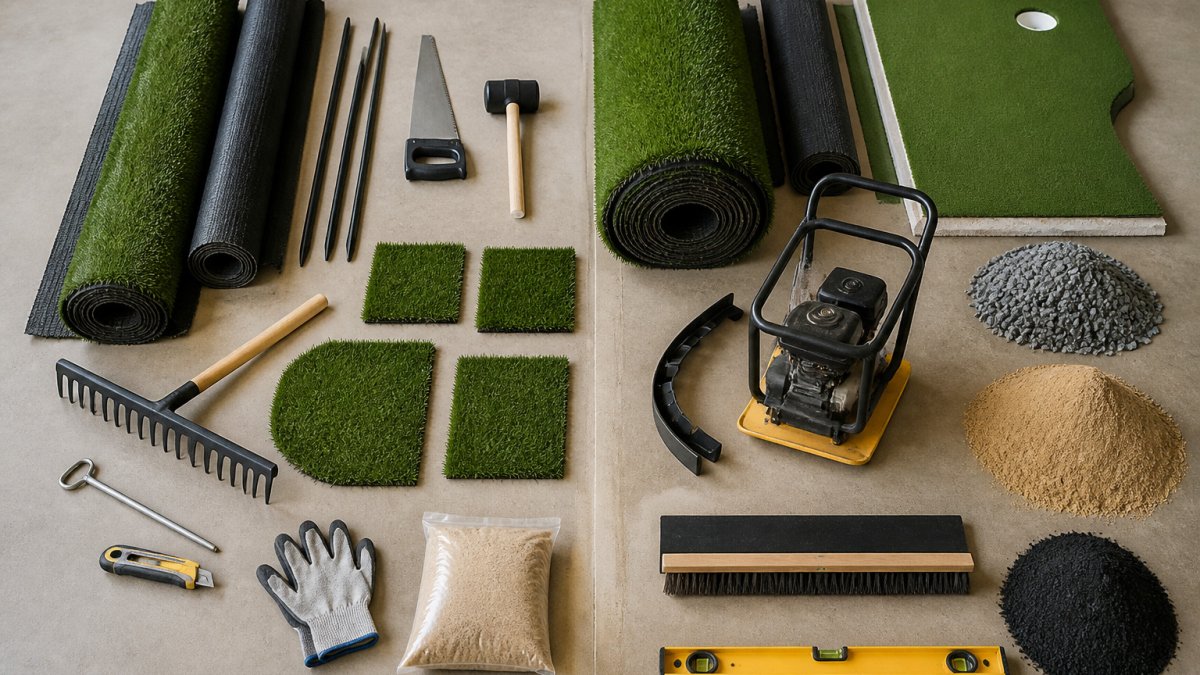
Most DIY installers underestimate the tool list. You will need a plate compactor for the base, a straightedge and level for checking grade, a utility knife and seaming tape for joining panels, a power broom for setting the fibers, and a spreader for infill. Compare polyethylene and nylon turf differences before you buy materials.
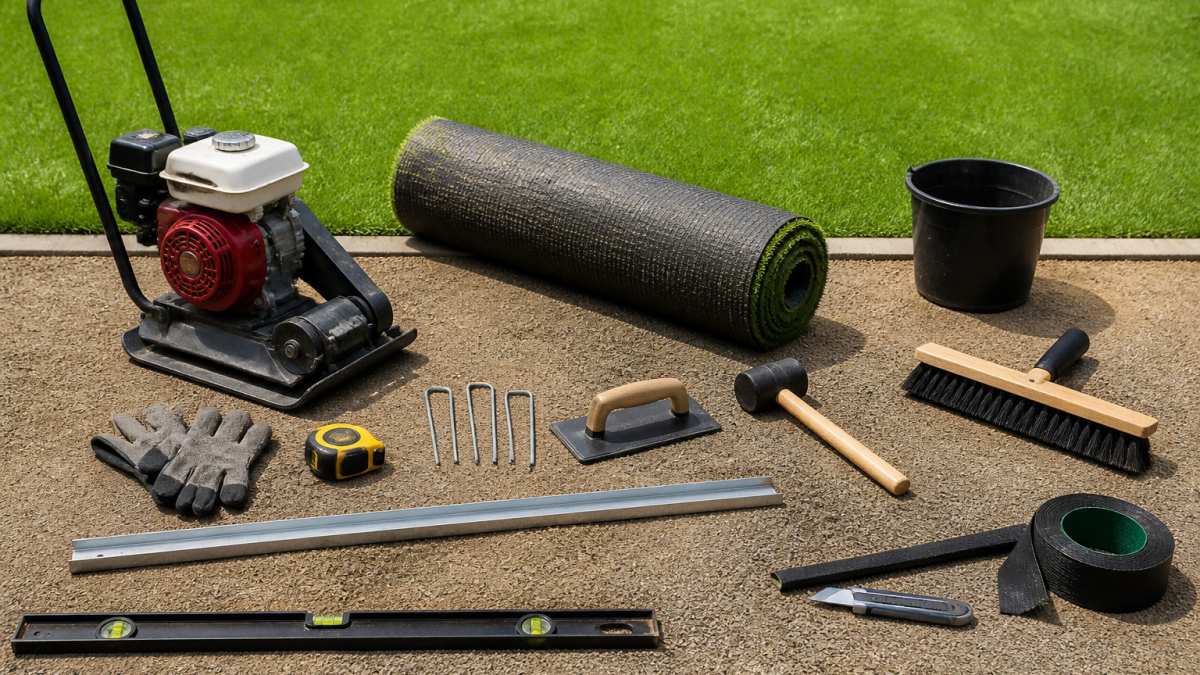
Plan the tool budget alongside the material budget. Skipping a proper compactor is the fastest way to end up with a surface that dips, and the cost of fixing a bad base usually exceeds the cost of the tools you skipped.
Pros and Cons of Each Approach
DIY works well for owners who have done hardscaping before, have the time to do it properly, and want to control the budget closely.
Professional installation suits owners who want a consistent result without managing the process. The trade-off is higher cost and less control over scheduling.
Best for: owners who want a flat, drained green installed correctly the first time.
Skip if: you have limited time and no experience with grading or base work.
Climate, Drainage and Long-Term Value Considerations in the South
Southern summers are hot and humid, and heavy rain is common, so drainage matters more here than in drier regions. For comparison, read about SynLawn alternatives for residential backyards.
Over the long term, synthetic turf is designed to eliminate the watering, mowing, and fertilizing that natural grass requires. The true value comes from weighing those ongoing savings against the upfront investment and the installation quality that protects it.
Choosing Your Putting Green Path and Requesting a Quote
If you are leaning toward DIY, start by measuring your space, sketching your grade, and listing every tool and material on the project. If you prefer a professional installation, gather two or three written estimates that cover the same scope.
For a quote tailored to your yard, request a quote from Southern Artificial Turf and we will walk you through the options.
Frequently Asked Questions
How much does it cost to install a professional artificial putting green?
Professional installation pricing depends on the size of the green, site access, base depth, drainage work and the turf you select, so there is no single flat rate. Installers typically price by the square foot and include excavation, base materials, turf, infill and seaming in the quote. For current pricing and a site-specific estimate, request a quote from Southern Artificial Turf, which can review your dimensions and conditions before giving a number.
What are the biggest challenges of a DIY putting green installation?
The most common problems are an improperly compacted or unlevel base, which causes uneven ball roll, and inadequate drainage, which leads to standing water and a soft surface after heavy rain. Seaming and turf stretching are also difficult without experience. Many DIY installers underestimate how much labor the excavation and base work requires, and the physical effort of moving stone and compacting it over several days is significant.
Does a professional putting green installation increase home value?
A well-built putting green can add appeal to a property, particularly for buyers who value outdoor recreation, but its effect on resale value varies by neighborhood and buyer. Professional installation with proper drainage and a durable base is more likely to hold up over time, which protects the value of the investment. Consult a local real estate agent for how comparable outdoor features are received in your market.
What tools are required for artificial turf installation?
A DIY putting green project typically requires a plate compactor, a landscape rake, a stiff broom, a utility knife, a tape measure, a power stapler or nail gun for securing the turf, a seaming tape and adhesive, and a power broom or brush for infill. Renting larger equipment such as a plate compactor or sod cutter is often more economical than buying it for a single project. Professional crews bring the same core equipment along with laser levels for grading accuracy.