
Last Updated: October 30, 2026
Quick Summary
To choose putting green fringe grass, measure the green and plan a fringe band about 12 to 24 inches wide, then match its pile height to within roughly 1/8 to 1/4 inch of the green. Compare fiber type, density and texture side by side, and test physical samples before ordering.
- Measure the green and sketch a fringe band of about 12 to 24 inches.
- Keep fringe pile height within roughly 1/8 to 1/4 inch of the green.
- Roll a ball across a sample seam to check for bumps or slowing.
- Lay samples beside the green for days and view them in morning and afternoon light.
- Plan seam placement, pile direction and height alignment before installation day.
Table of Contents
- What Putting Green Fringe Grass Does and Why the Choice Matters
- Step 1: Measure the Green and Plan the Fringe Dimensions
- Step 2: Match Fringe Pile Height to Your Putting Surface
- Step 3: Compare Fiber Type, Density and Texture in the Best Fringe Turf for Putting Greens
- Step 4: Decide Between Indoor and Outdoor Putting Green Turf Requirements
- Step 5: Test Samples and Check Product Specifications Before You Buy
- Step 6: Plan the Green-to-Fringe Seam and Installation Transition
- Booking Your Fringe Selection With Southern Artificial Turf
- Frequently Asked Questions
What Putting Green Fringe Grass Does and Why the Choice Matters
Putting green fringe grass is the strip of turf that surrounds the green and carries the ball from the rough onto the putting surface. A poor choice of fringe will show in every chip, pitch and bump-and-run. A mismatched fringe can disrupt an otherwise good green, so this guide walks you through a practical way to choose the right product.
The fringe does three jobs. It transitions the eye from the green to the surrounding lawn, it affects how the ball rolls off the edge, and it has to stand up to foot traffic and weather. Get those three right and the green looks finished. Get one wrong and it looks like an afterthought.
Most people focus on the green and treat the fringe as a footnote. That is the costly mistake. A fringe that is too tall, too coarse or the wrong color stands out immediately, no matter how well the main surface performs.
Step 1: Measure the Green and Plan the Fringe Dimensions
Start with measurements before you shop. Measure the length and width of the green, then decide how wide the fringe band should be. A band of about 12 to 24 inches is common around a putting surface, but your layout and the space you have will set the final number.
Sketch the shape on graph paper or a free planning app. Mark where the fringe meets the surrounding lawn, bed or hardscape. Note any slopes, drains, or trees that will affect the edge.
Watch out: Forgetting to add the fringe width to the green’s outer dimensions leads to ordering too little material and an awkward seam.
Write down three numbers before moving on: the green’s dimensions, the fringe width, and the total area to cover. You will need the total area when you request samples and quotes.
Step 2: Match Fringe Pile Height to Your Putting Surface
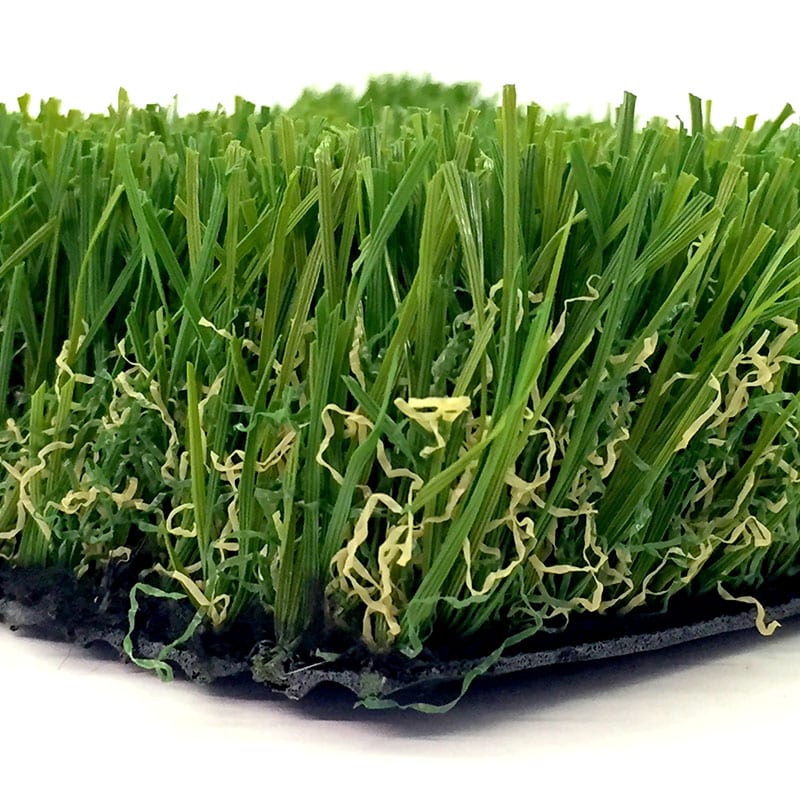
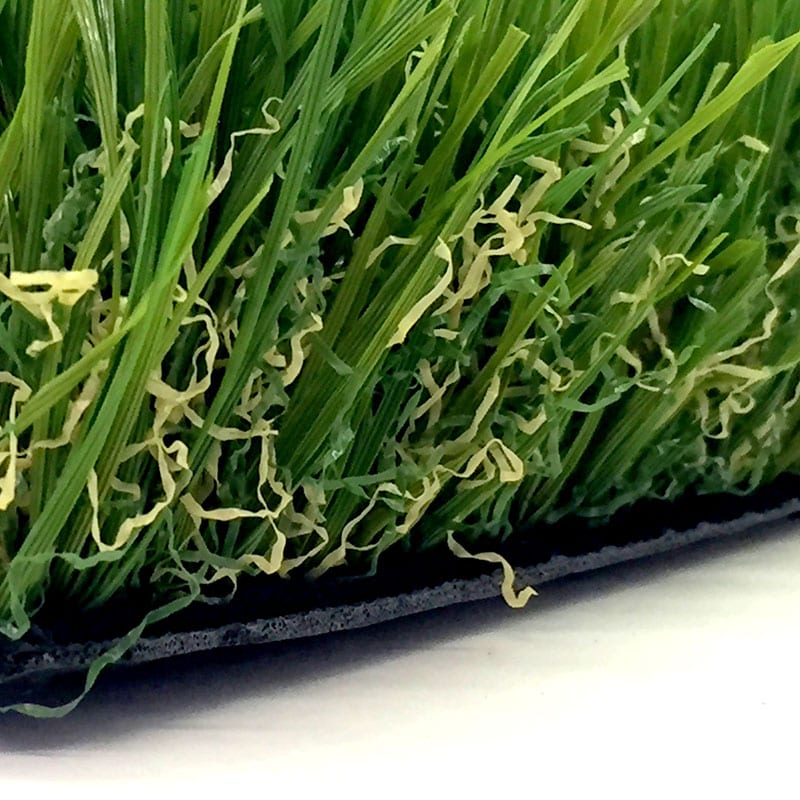
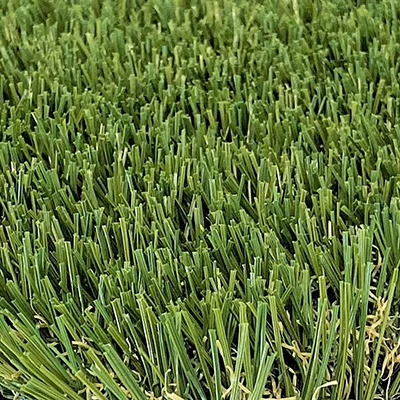
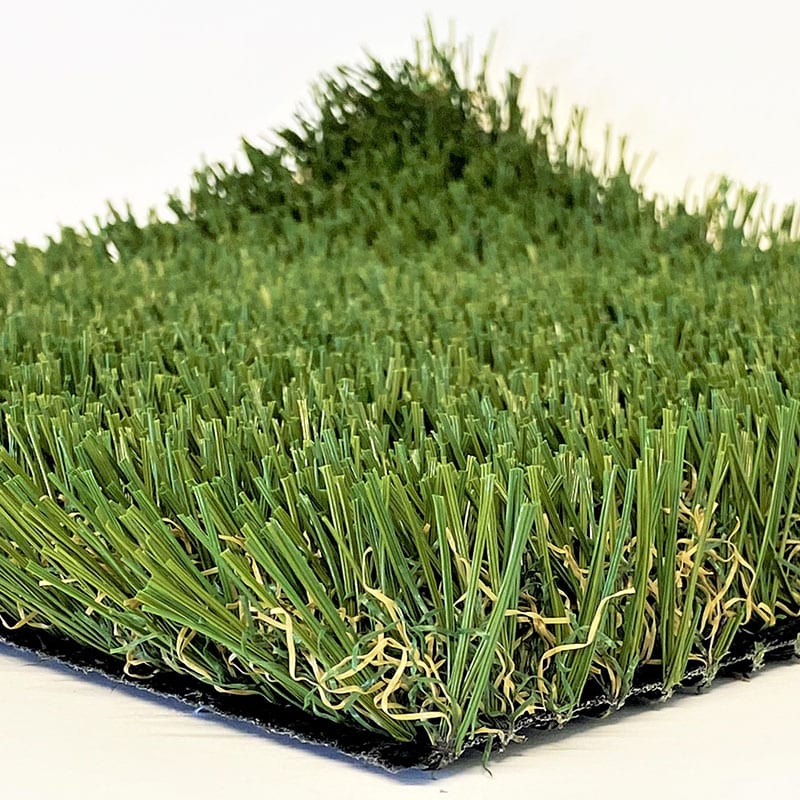
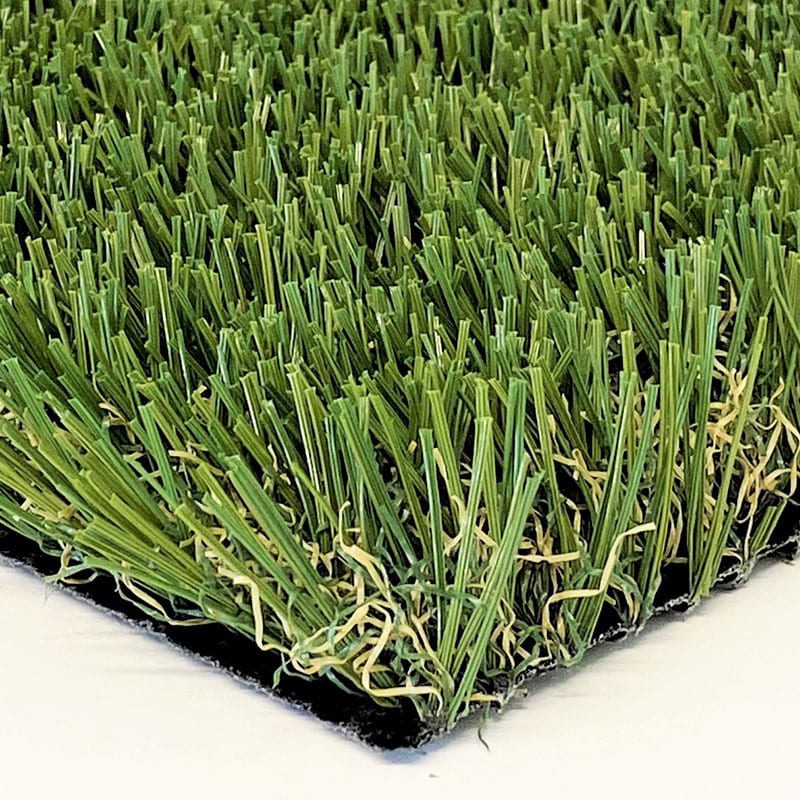
Pile height is the length of the turf fibers above the backing, and it is the single spec that decides whether the ball rolls cleanly off the green or hops at the edge. The fringe should sit at or just above the green’s pile height, close enough that a putt or chip does not change speed abruptly at the seam, but tall enough to read as a distinct collar.
A practical way to set the target: measure your green’s pile height first, then choose a fringe within roughly 1/8 to 1/4 inch of it. Read our full guide to choosing the right pile height for more detail on matching fringe to your green. If the green is a tight, fast surface (short pile, high density), keep the fringe at the low end of that band. If the green is a relaxed, slower surface, a fringe at the top of the band frames it without creating a speed cliff. Anything more than about 1/4 inch taller than the green is where players start feeling the ball decelerate or hop as it crosses.
Pile height is only half the match. Texture and density have to line up too, because a fringe with the same pile height but a coarser fiber or looser tuft will still grab the ball. Compare three things side by side on the sample:
- Fiber fineness: a finer polyethylene fiber rolls the ball more predictably than a coarse, stiff blade at the same height.
- Density (fibers per square inch): a denser fringe looks fuller but can slow the ball at the seam; a slightly looser fringe lets the ball release.
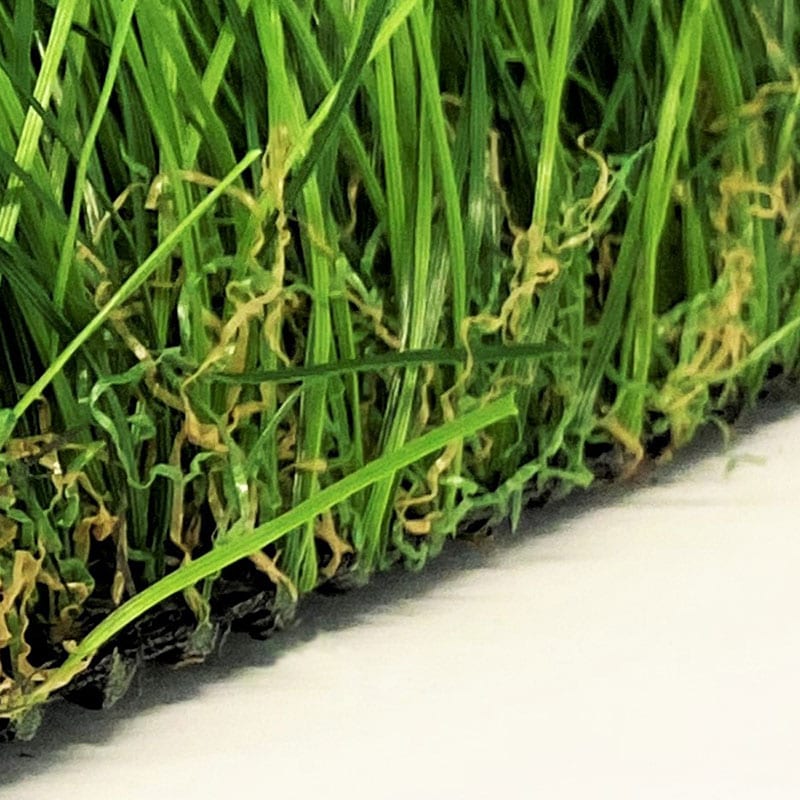
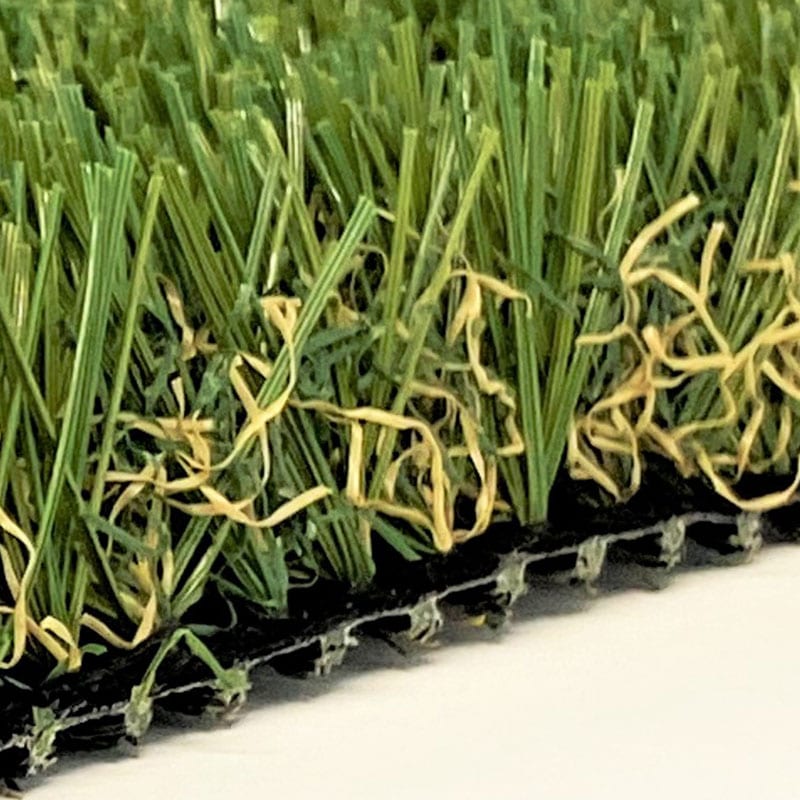
- Face weight and backing: a heavier face weight with a stable backing keeps the fringe from matting and changing height over time.
Lay the fringe sample directly against the green sample on a flat board and roll a ball across the seam by hand. If you feel a bump or the ball visibly slows, the pile height or density mismatch is too large, adjust before you order.
Watch for the common failure modes:
- Fringe too tall: the ball pops up or stalls at the edge, and the collar reads as rough rather than fringe.
- Fringe too short: the seam disappears visually, but the ball can skid and the edge looks unfinished.
- Same height, wrong texture: the ball still behaves differently because the fiber stiffness and density differ from the green.
Judge the match under the same light the installation will see. A sample that looks right in a showroom can read as a different shade or height once it sits next to the green in morning and afternoon sun. Walk across the seam barefoot and with a putter in hand, feel and ball response together are the real test, not the spec sheet alone.
The table below summarises the three checks that decide whether the fringe blends with the green.
| Check | Target or risk | Note |
|---|---|---|
| Pile height gap | Within roughly 1/8 to 1/4 inch of the green | More than 1/4 inch taller causes the ball to hop or slow |
| Fiber fineness | Finer fiber rolls the ball more predictably | Coarse, stiff blades can grab the ball |
| Density | Denser looks fuller but can slow the ball | Slightly looser lets the ball release |
| Face weight and backing | Heavier face weight with stable backing | Prevents matting and height change over time |
Step 3: Compare Fiber Type, Density and Texture in the Best Fringe Turf for Putting Greens
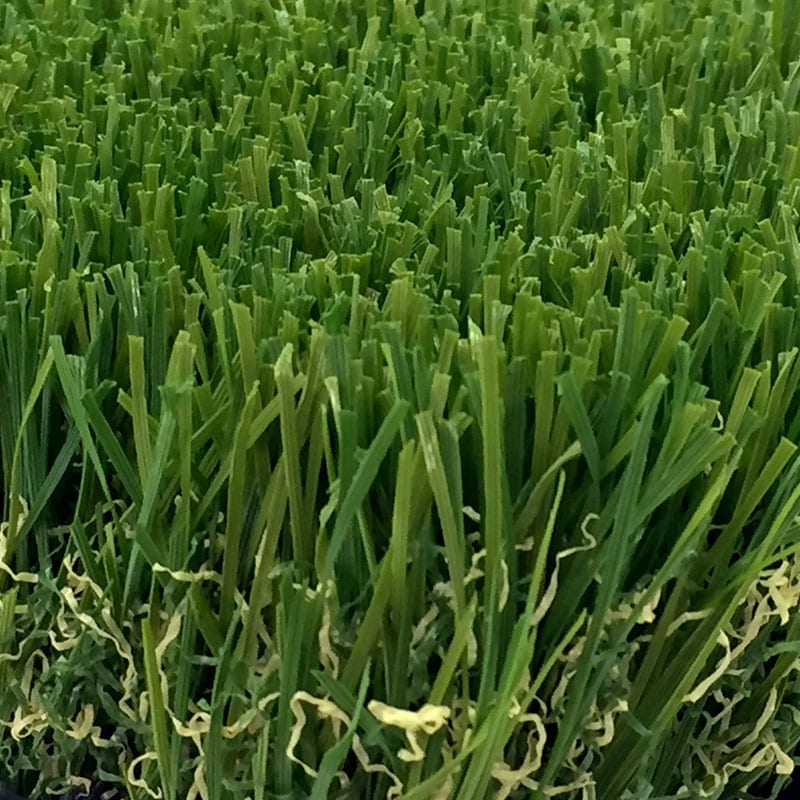
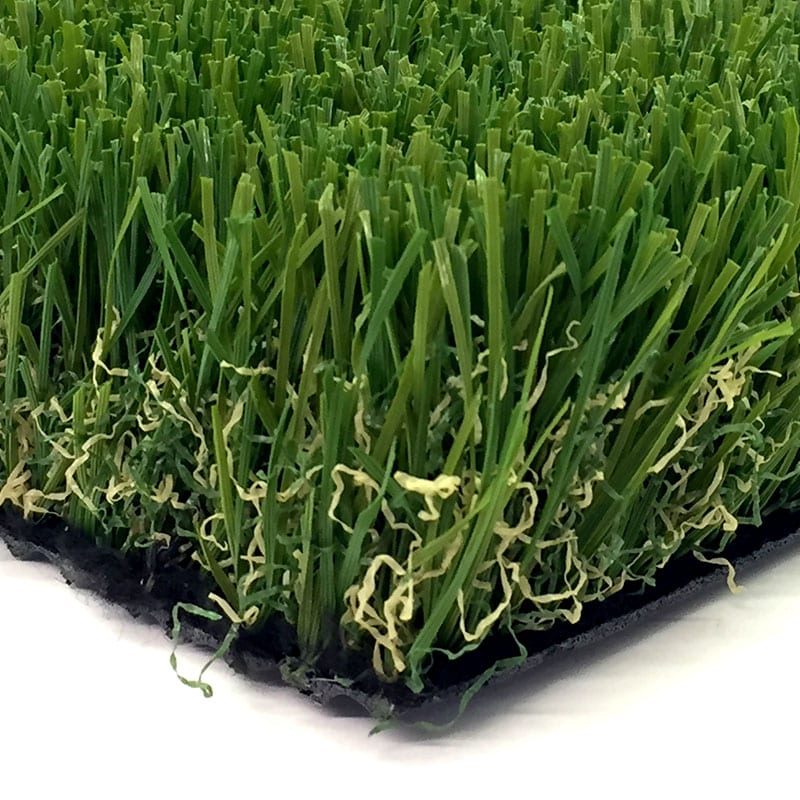
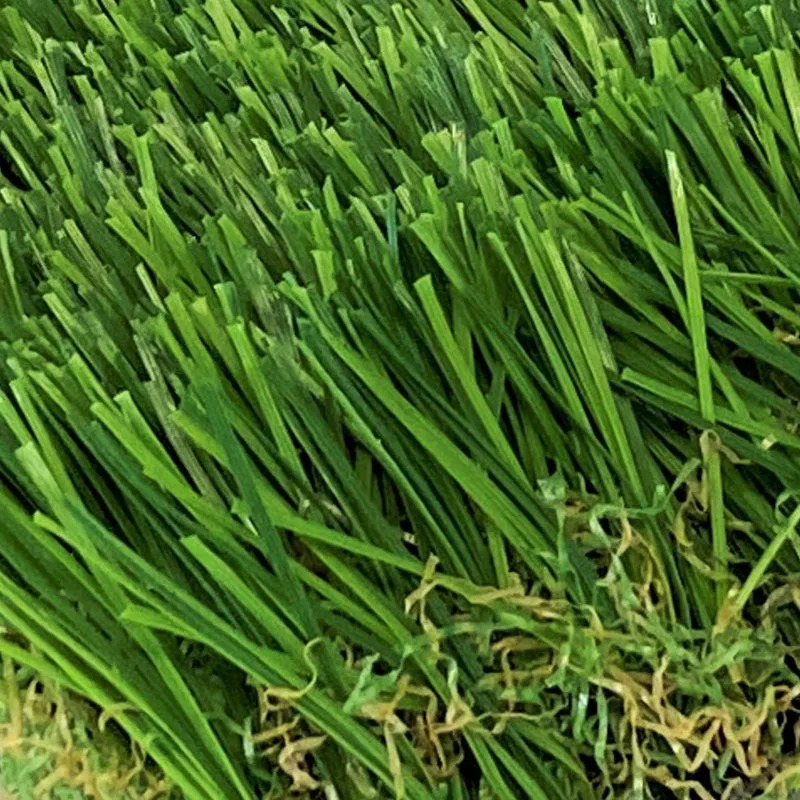
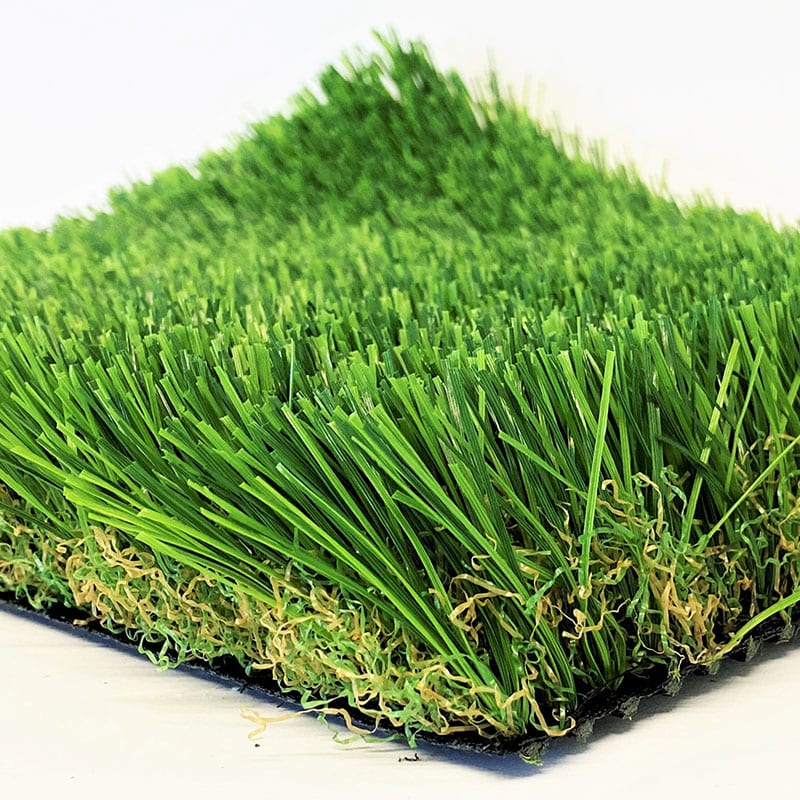
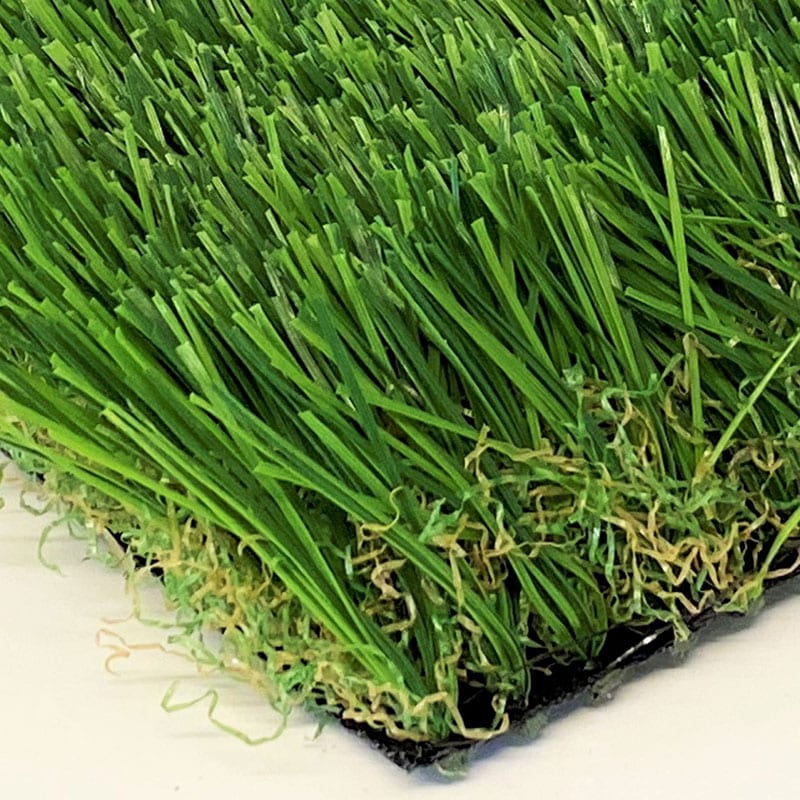
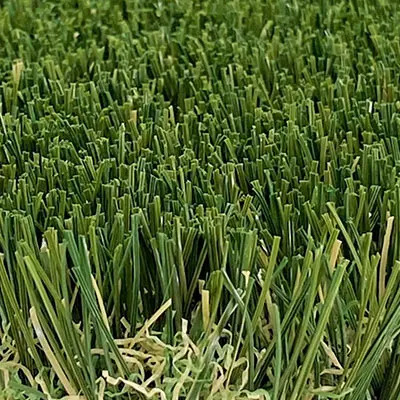
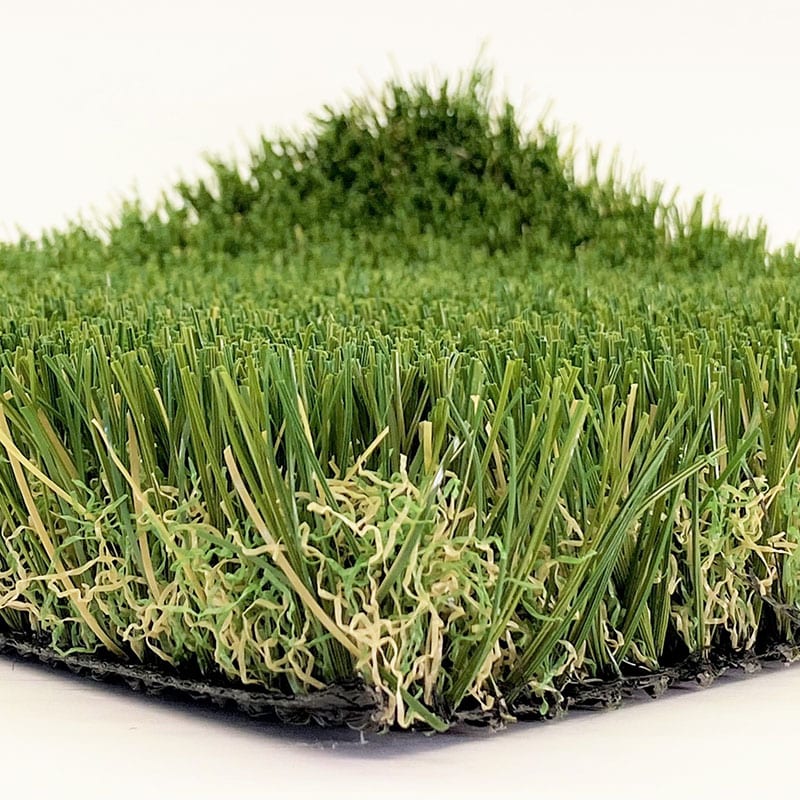
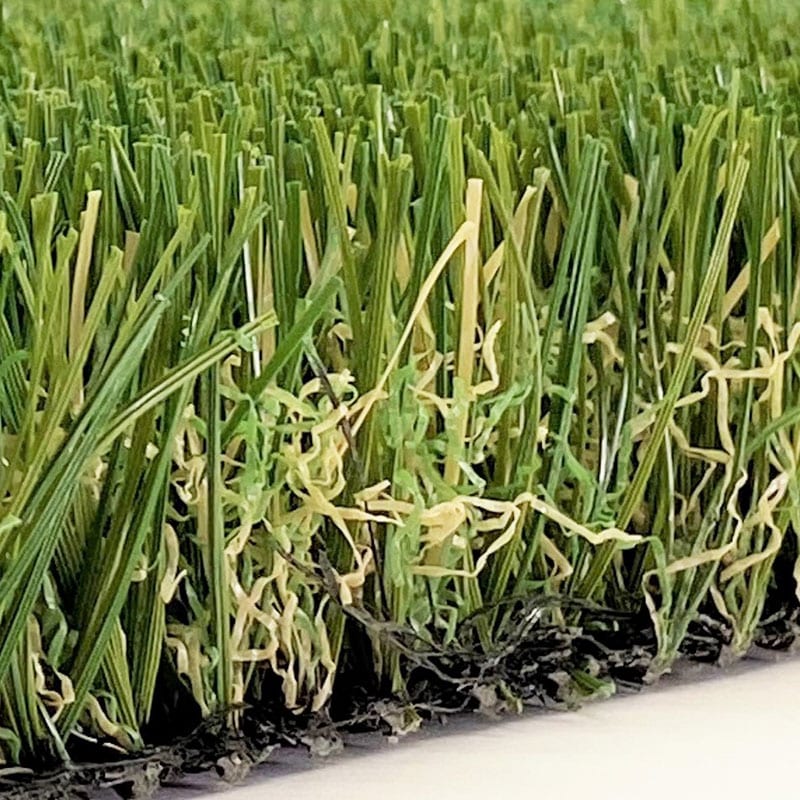
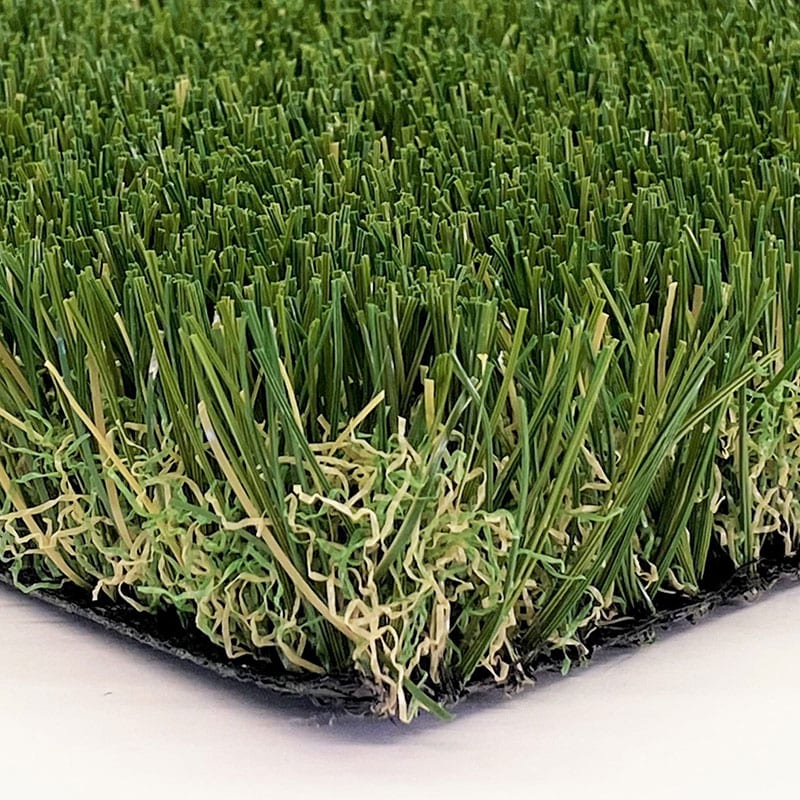
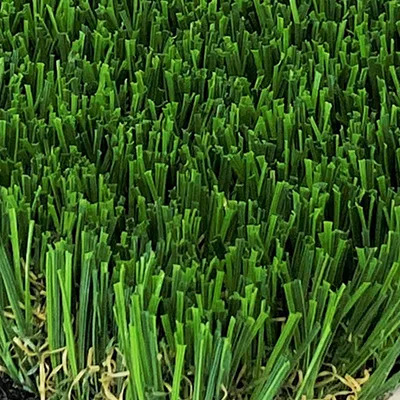
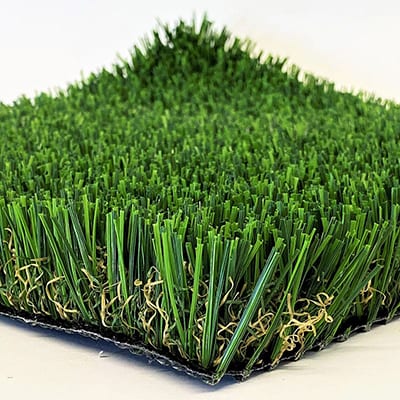
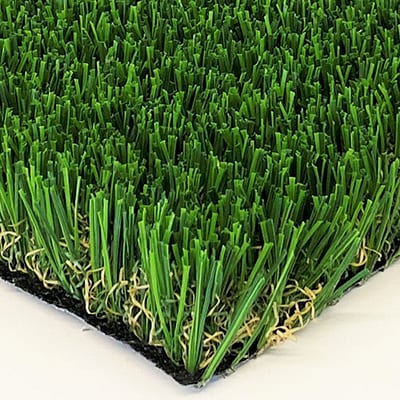
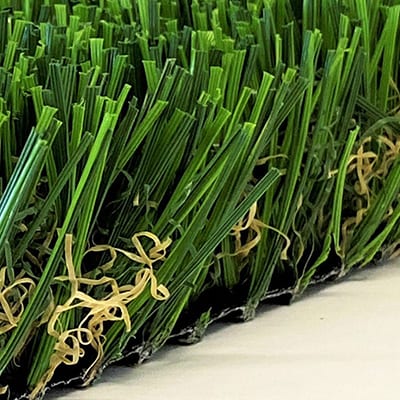
Fiber type, density and texture decide how the fringe feels underfoot and how well it holds up. Most quality products use polyethylene or nylon fibers. Polyethylene is soft and popular for residential use. Nylon is firmer and more resilient under heavy wear. Polyethylene fibers are soft and gentle on bare feet and pet paws.
Density, the number of fibers per square inch, controls how full the surface looks and how it resists flattening. Texture affects both appearance and how the ball reacts. A quad-color blend, which mixes several shades of green, mimics natural grass better than a single flat color.
Common mistakes to avoid:
- Choosing a dense fringe that slows the ball at the seam
- Picking a single-shade color that looks fake next to a multi-tone green
- Ignoring backing and infill, which affect stability over time
Step 4: Decide Between Indoor and Outdoor Putting Green Turf Requirements
Indoor and outdoor installations need different specifications. Indoor turf sees less sun and less rain, so you can prioritize softness and a tight finish. Outdoor turf must handle UV exposure, moisture, temperature swings and debris.
Ask these questions before you choose:
- How much direct sun does the area get each day?
- Does water pool after a storm, or does it drain quickly?
- Will the fringe see pets, kids or heavy foot traffic?
Look for fringe products that offer a warranty, UV resilience and good drainage, since those features matter most outdoors, where heat and humidity can take a toll on lesser materials. Confirm any warranty terms directly with the seller before you buy.
Step 5: Test Samples and Check Product Specifications Before You Buy
Request physical samples and lay them beside your green for at least a few days. Before you commit, compare DIY and professional installation to decide which approach suits your project. Look at them in morning and afternoon light, and walk across the seam to feel the transition. A sample that looks perfect in a store can look wrong in your yard.
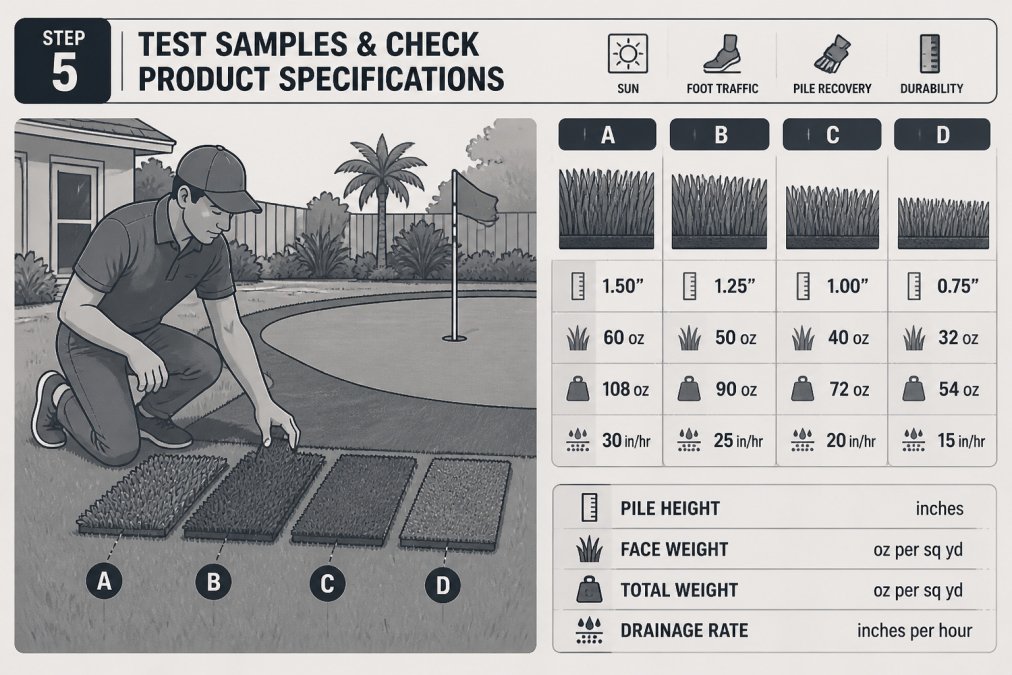
Check the spec sheet for pile height, fiber type, density, backing, warranty and drainage. Confirm the product meets the standards you care about. Check that the turf you consider meets or exceeds EPA standards for RCRA hazardous waste heavy metals, including lead, which matters if you have kids or pets using the area.
Pricing depends on quantity, dates and delivery, so there is no fixed figure to quote here. Contact Southern Artificial Turf for current pricing and a quote based on your measurements.
Step 6: Plan the Green-to-Fringe Seam and Installation Transition
The seam is where most fringe installations succeed or fail, and it is the detail most buying guides skip.
Seam placement. Put the seam where it is least visible and least trafficked. A common pattern is to run the seam along a straight edge or a natural break in the layout rather than across the line of play.
Pile direction. Align the pile direction so the fringe and green fibers run the same way. Mismatched pile direction shows as a color shift at the seam and changes how the ball releases off the edge.
Height alignment. The base under both sections has to be compacted and level, and the finished surfaces have to meet at the same height.
Edge restraint. Where the fringe meets lawn, beds, or hardscape, use a proper edge restraint to hold the cut edge and keep the base from migrating. Without restraint, the edge can spread, the seam can open, and the transition can become a trip hazard.
Trip hazards and finish. Walk the finished seam in both directions and check for lips, loose edges, and height steps. A clean seam is hard to see once installed; a rough one is obvious every time someone putts across it.
Do not let the installer cut the fringe to fit before the base is compacted and the green height is final. Cutting early is the most common cause of a seam that cannot be closed cleanly.
Booking Your Fringe Selection With Southern Artificial Turf
Choosing fringe grass is easier when you have a professional view of your measurements, samples and specifications. Southern Artificial Turf can help you compare products and specifications for your green. Request a quote through our website and bring your measurements so we can recommend the right fringe for your space.
Frequently Asked Questions
What is putting green fringe grass?
Putting green fringe is the strip of turf that surrounds the putting surface. It transitions the green to the surrounding lawn, catches shots that miss the green, and frames the edge of the hole area. Fringe is usually cut taller and softer than the putting surface, so a ball rolling off the green slows down and stays playable. Because it borders the green, fringe should be chosen to match the putting surface in color, texture and installation method so the transition looks and plays consistently.
How tall should putting green fringe grass be?
Fringe pile height is typically taller than the putting surface so it slows a ball that rolls off the edge. Choose a pile height that is noticeably taller than the green turf while still allowing a putter to glide over the seam without snagging. Check the manufacturer’s stated pile height for both products, and test the transition with a putter and a ball before finalizing. Taller fringe suits a chipping area, while shorter fringe suits a tighter, faster collar.
Can you use regular artificial grass around a putting green?
Regular landscape turf can be used around a putting green, but it is usually a poor match. Standard lawn turf often has a different pile height, fiber type and texture than putting surface turf, which creates a visible and playable mismatch at the seam. For the best result, choose a fringe product from the same line as the green or one with a closely matched pile and fiber, and confirm the sample looks consistent under the same light before buying in quantity.
How do you choose fringe turf for an indoor or outdoor putting green?
Start with the setting. Outdoor greens face sun, heat, rain and foot traffic, so choose UV-resilient fibers, good drainage and a construction that resists matting. Indoor greens get less sun and moisture, so color fade and drainage are less critical, while pile stability and playability matter more. In both cases, select fringe that matches the green’s fiber type and density, then confirm the product specifications and sample performance for your intended use.