
Table of Contents
- What You’ll Need to Repair Artificial Grass Tears
- How to Repair Small Tears in Artificial Grass: Step-by-Step
- Artificial Grass Seam Tape Application for Lasting Results
- Patching Artificial Grass Holes: Beyond Simple Tears
- Fixing Seam Ruptures and Backing Material Damage
- Common Mistakes to Avoid When Repairing Artificial Turf
- Troubleshooting Failed Repairs
- Frequently Asked Questions
Last Updated: September 18, 2026
What You’ll Need to Repair Artificial Grass Tears
You can fix small tears in artificial grass with basic tools and materials. Choosing the correct adhesive for your turf’s backing type is critical, using the wrong product is the leading cause of failed repairs.
Gather these supplies before you start:
- Utility knife or box cutter
- Seam tape (designed specifically for artificial turf)
- Turf adhesive (polyurethane or latex-based, matched to your backing type)
- Brush or applicator for adhesive
- Landscape staples or turf nails
- Infill material (crushed stone base matching your existing turf)
- Cleaning cloth or small brush
- Ruler or measuring tape
- Optional: color-matched fiber strands (for blending faded areas)
Choosing the Right Adhesive for Your Backing Type
Artificial grass uses two primary backing materials, and each requires a different adhesive:
Polyurethane backing is more common in residential turf and bonds well with polyurethane-based adhesives. These cure through moisture exposure, work in a wider temperature range (40°F to 85°F), and are more forgiving of humidity. If your backing feels firm and slightly rubbery, use polyurethane adhesive.
Latex backing is found in some budget and commercial installations. Latex-based adhesives cure faster (12-16 hours) but are more temperature and humidity-sensitive, performing best at 50°F to 75°F. If your backing feels softer or tacky, confirm latex composition with the product label or manufacturer.
Polyurethane backing is typically tan, gray, or dark gray and feels dense; latex backing is lighter and more flexible. When in doubt, contact your turf manufacturer or installer for confirmation.
Adhesive Selection Criteria
Choose a product with:
- UV resistance: Non-UV-resistant products harden, crack, and fail within months.
- Moisture resistance: Essential in humid climates or areas with morning dew.
- Temperature stability: Select adhesives rated for your climate; most regions need 40°F to 100°F.
- Non-toxic formulation (optional): Eco-friendly or low-VOC adhesives are safer for pets and children.
Have supplies ready before starting to prevent delays and ensure proper adhesive curing. If unsure about backing type or adhesive choice, test a small repair in an inconspicuous area first.
How to Repair Small Tears in Artificial Grass: Step-by-Step
Small tears can be fixed in under an hour by preparing the area, cleaning the damage, applying seam tape and adhesive, and securing the patch.
Preparing the Damaged Area
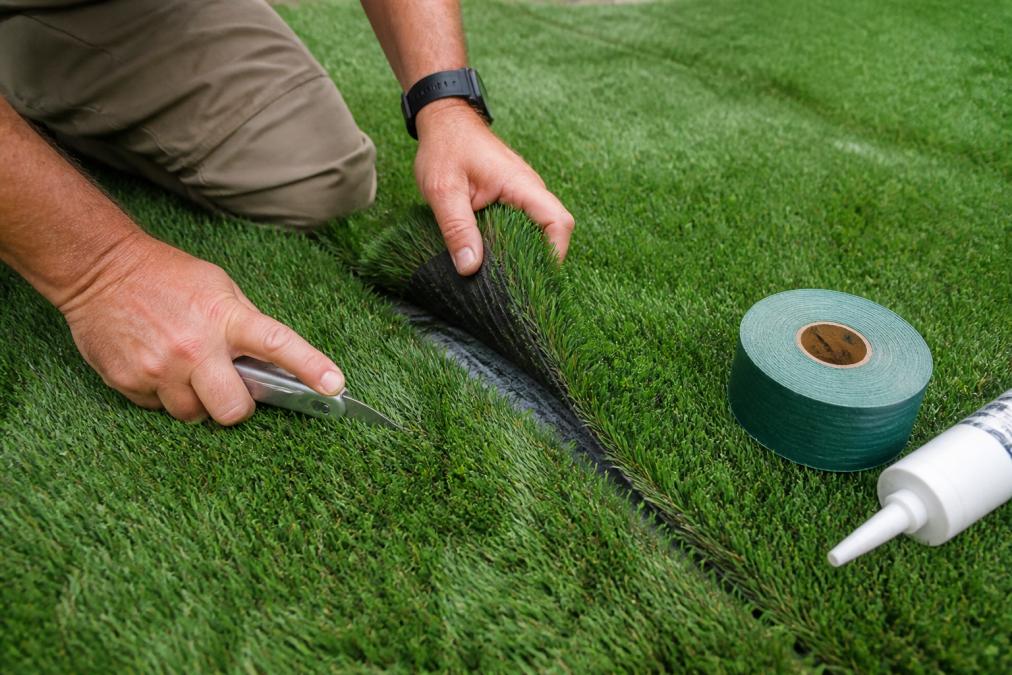
Examine the tear closely and determine if it runs along a seam or through the middle of the turf, as seam tears require different handling.
Clear debris, leaves, and dirt around the damage. Gently brush away any embedded infill material, taking care not to enlarge the tear.
Removing Infill and Cleaning the Tear
Remove infill from the repair area by sweeping away crushed stone or sand down to the backing material.
Wipe the tear with a damp cloth and let it dry completely before applying adhesive, as moisture prevents proper bonding.
Check the backing material. Small cracks can be sealed, but severe damage may require a larger patch.
Applying Seam Tape and the Best Adhesive for Artificial Grass Repair
Cut seam tape extending at least 2 inches beyond the damage on each side to create a stronger bond.
Apply adhesive evenly across the repair zone with a thin, consistent layer rather than thick globs.
Press the seam tape firmly into the adhesive, working from the center outward to eliminate air bubbles.
Allow the adhesive to cure for 24 hours before foot traffic. Rushing this step causes repairs to fail.
Securing the Patch and Curing
Once the adhesive has set, secure the patch with landscape staples or turf nails at 6-inch intervals along both sides.
Return infill to the repaired area to protect the tape from UV exposure and help the repair blend with surrounding turf.
Brush the fibers gently to blend the repair with surrounding turf.
Artificial Grass Seam Tape Application for Lasting Results
Proper seam tape application determines whether your fix lasts months or years.
Choose tape rated for outdoor use and UV resistance. Standard seam tape designed for artificial grass bonds to both fibers and backing material more effectively than generic strips.
Standard seam tape is typically 6 inches wide, adequate for small tears. For larger damage, consider wider tape or double-layer application.
Apply tape in a single continuous strip when possible. If overlapping, extend the overlap by at least 2 inches and ensure both layers bond fully.
Press firmly and consistently to work out air bubbles, which trap moisture and prevent proper curing.
Patching Artificial Grass Holes: Beyond Simple Tears
Holes involve missing fibers and require a patch covering the entire damaged zone. Unlike tears, holes demand structural reinforcement because the backing material is exposed.
Small holes (under 2 inches) can be sealed with tape and adhesive if the backing is intact. Larger holes need a turf patch from scrap material or replacement.
Cutting and Sizing the Patch
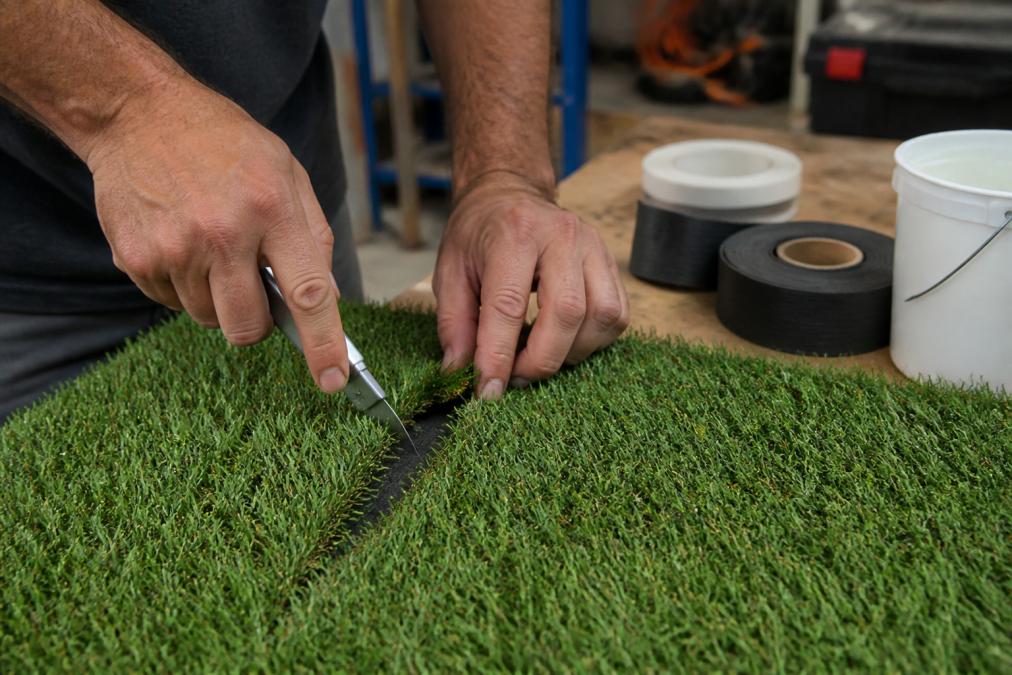
Cut away damaged edges with a utility knife, creating clean, straight lines. Rectangular or square patches bond more consistently than irregular shapes.
Cut a replacement patch ½ to 1 inch larger than the hole on all sides to ensure full bonding. Mark the outline on the backing material.
Apply adhesive around all edges and secure with seam tape on all sides. For patches over 4 inches, apply tape along the center to prevent lifting.
Allow full curing time before returning infill and foot traffic, as hole repairs involve compromised backing material.
The Color-Matching Challenge: Blending New Patches with Faded Turf
The biggest aesthetic problem with hole patches is visibility, new fibers are often brighter than UV-faded surrounding turf.
If using scrap from the same installation: It will likely match the color. If the scrap is newer, color mismatch will be obvious.
If using replacement turf from a different source: Color matching is essential. Quad-color technology blends four fiber tones; a patch with only two or three will look flat and obviously patched.
Blending strategies:
-
Request color-matched fiber strands from your turf manufacturer. Hand-blend these into patch fibers before installation to match aged turf. Labor-intensive but produces the most seamless result.
-
Expose the patch to UV light before installation. If you have time, place the replacement patch in direct sunlight for 2-4 weeks before cutting and installing it. UV exposure fades the fibers slightly, bringing them closer to the color of your existing turf. This works best in sunny climates and is less effective in regions with limited sun.
-
Use infill strategically to obscure the patch edge. After securing the patch, apply extra infill (crushed stone or sand) around the perimeter. This darkens the visible edge and makes the transition less obvious. Brush the fibers gently to blend them with surrounding turf.
-
Accept a slight color difference and plan for full turf replacement. If the mismatch is severe, the patch will remain visible. In this case, document the repair and plan to replace the entire lawn section or the whole lawn when budget allows. A single visible patch often motivates homeowners to upgrade sooner.
For burn spots or melted areas: These often appear darker than surrounding turf. If the damage is severe enough to require a patch, the color mismatch is usually unavoidable. Focus on structural integrity and accept that the repair will be slightly visible. Over time (6-12 months), UV exposure may fade the patch closer to the surrounding turf color.
Allow full curing time (24 hours minimum) before returning infill and foot traffic. Hole repairs are under more stress than simple tears because the patch edges are exposed to foot traffic and weather stress continuously.
Fixing Seam Ruptures and Backing Material Damage
Seam ruptures occur when the existing seam between two turf sections fails. These repairs are more involved than simple tears.
Identify whether the rupture is at the seam line or in the backing material near the seam. Ruptures at the seam often indicate the original installation used insufficient adhesive or the wrong type.
Clean the entire seam thoroughly. Remove old adhesive, infill, and debris. A utility knife works well for scraping away dried adhesive. Get down to bare backing material on both sides of the seam.
Apply new seam tape centered over the rupture. Extend the tape well beyond the damaged section on both sides. Use fresh adhesive rated for your turf backing type.
Backing material damage (cracking, separation, or peeling) requires careful attention. Small cracks can be sealed with adhesive and tape. Extensive backing damage may require professional repair or section replacement.
Press the tape firmly and allow full curing.
Common Mistakes to Avoid When Repairing Artificial Turf
Most repairs fail because of preventable mistakes. Learn what to avoid before you start.
Troubleshooting Failed Repairs
Sometimes repairs fail despite careful work. Common causes include moisture, inadequate adhesive, wrong product choice, or incomplete surface preparation.
Frequently Asked Questions
How do you repair a hole in artificial grass?
Small holes can be patched by removing infill, cleaning the area, applying seam tape and turf adhesive, then securing a patch cut from matching artificial grass. For larger holes or damage to the backing material, the repair becomes more complex and may require professional help. The key is matching the fiber color and pile direction to make the patch blend seamlessly.
What is the best adhesive for artificial grass repair?
Use a polyurethane-based turf adhesive specifically designed for synthetic grass bonding. These adhesives cure to create a waterproof, flexible seal that withstands UV exposure and temperature swings. Apply a thin, even layer to both the seam tape and the backing material. Allow full curing time, typically 24 hours, before exposing the repair to moisture or foot traffic.
Can artificial turf be repaired, or does it need replacement?
Small tears, seam ruptures, and surface damage can be repaired successfully with the right materials and technique. Repairs work best when caught early and when the backing material remains intact. Extensive damage affecting large areas or compromising drainage may require section replacement. Most repairs, when done properly, restore full functionality and blend well with the surrounding turf.
How long does an artificial grass repair take to cure?
Seam tape and turf adhesive typically require 24 hours of full curing before the repair can handle foot traffic or water exposure. During this time, keep the area dry and undisturbed. Temperature and humidity affect curing speed, warmer conditions generally accelerate the process. Always follow the specific curing time recommended by your adhesive manufacturer.