
Table of Contents
- Why Secure Artificial Turf Without Glue
- How to Anchor Artificial Grass to the Ground
- Preparing Your Surface Before Installation
- Artificial Turf on Concrete Without Glue
- Artificial Grass Edging and Perimeter Fastening
- Tools for Installing Artificial Turf Without Glue
- Step-by-Step Installation Process
- Removable Installation for Rentals and Temporary Spaces
- Frequently Asked Questions
Last Updated: October 18, 2026
Why Secure Artificial Turf Without Glue
Securing artificial turf without glue offers real advantages. You get a removable installation that works for rentals, temporary spaces, and homeowners who want flexibility. No permanent adhesive means you can pull up the turf, move it, or replace sections without damaging the underlying surface.
Glue-free methods also work better on certain surfaces. Concrete, decks, and rental properties benefit from mechanical fastening because adhesive can fail in temperature swings or leave residue. For many installations, how to secure artificial turf without glue comes down to choosing the right fastening system for your specific ground type.
The most common reason people choose this approach is control. You’re not locked into a permanent bond. You can adjust, repair, or remove sections as needed.
The downside is simple: glue-free methods require more fasteners and take longer to install. But for the right project, that trade-off is worth it.
How to Anchor Artificial Grass to the Ground
The foundation of any glue-free installation is solid anchoring. Artificial grass needs to stay in place through wind, foot traffic, and pet movement. Without adhesive, you rely entirely on mechanical fastening to keep the turf from shifting or lifting at the edges.
Mechanical Fasteners: Staples, Nails, and Pins
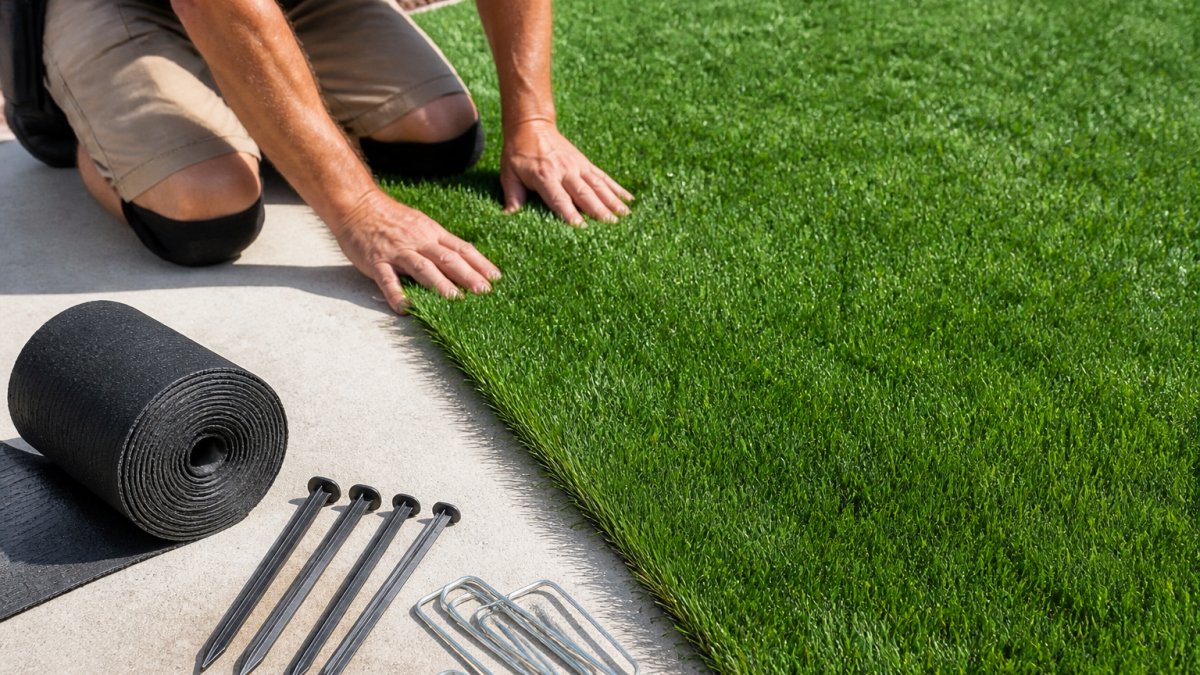
U-shaped turf staples are the most common choice for anchoring artificial grass. These staples penetrate both the turf backing and the ground below, creating a secure mechanical bond. They work on soil, mulch, and aggregate bases.
Manual staple guns drive these fasteners quickly. You position the staple gun perpendicular to the turf edge, squeeze the handle, and the staple drives through the backing into the ground. Spacing matters: place staples every 6-12 inches around the perimeter and along seams.
Nails work on harder surfaces like concrete when you use a powder-actuated nail gun. Regular hammering won’t work on concrete, you need the force of a power tool.
Pins (also called landscape pins or anchor pins) are an alternative for soil bases. They’re longer than staples and work well on soft ground where you need deeper penetration. Pins take longer to install by hand but provide excellent holding power on prepared soil.
Seam Tape and Non-Adhesive Jointing Methods
Where two pieces of turf meet, you need to join them securely. Seam tape is a non-adhesive option that uses mechanical pressure to hold seams together. The tape has a textured surface that grips both sides of the turf when you roll it down firmly.
To use seam tape without glue, lay both turf pieces edge-to-edge with a slight overlap. Center the tape over the seam and press it down hard using a heavy roller. The pressure creates friction that holds the tape in place. This method works best on flat, prepared surfaces where you can apply consistent downward force.
Some installers combine seam tape with staples along the seam line for extra security. Staple every 12 inches on both sides of the seam, then apply the tape over top. This hybrid approach prevents the tape from peeling if the turf shifts.
Preparing Your Surface Before Installation
Surface prep is critical for glue-free installations. A level, clean base prevents the turf from moving and ensures fasteners hold properly.
Start by removing debris, rocks, and old vegetation. Rake the area thoroughly to break up compacted soil. Fill low spots with sand or aggregate to create a level surface. High spots should be raked down or removed.
For soil bases, compact the ground using a hand tamper or plate compactor. You want firm soil that won’t settle under the turf’s weight. Loose, fluffy soil lets the turf shift and move.
For concrete surfaces, sweep and wash to remove dirt and algae. Rough concrete is better than smooth concrete for mechanical fastening, rough surfaces give staples more bite.
Install a weed barrier over prepared soil. This prevents weeds from growing through the turf and keeps the base stable. Secure the barrier with staples before laying the turf over top.
Artificial Turf on Concrete Without Glue
Installing artificial grass on concrete without glue requires a different fastening strategy. Staples won’t penetrate hard concrete, so you need powder-actuated nails or specialized concrete anchors.
Powder-actuated nail guns fire nails into concrete using a controlled explosion. The gun holds a powder charge and a nail. When you pull the trigger, the powder ignites and drives the nail into the concrete.
Concrete anchors (also called concrete screws or wedge anchors) work without a power tool. You drill a pilot hole, then screw the anchor into the hole. The anchor expands inside the concrete, creating a mechanical lock.
Space fasteners every 12-18 inches around the perimeter and along seams. Concrete is unforgiving, fasteners that are too far apart let the turf bubble and shift.
For temporary installations on concrete (rentals, events, seasonal use), consider removable fasteners like adhesive-backed anchor plates. These metal plates stick to the concrete and accept removable pins or hooks.
Artificial Grass Edging and Perimeter Fastening
The perimeter is where most glue-free installations fail. Wind and foot traffic stress the edges first. Strong edge fastening prevents the turf from peeling back or lifting.
Use U-shaped staples along the entire perimeter, spacing them 6 inches apart. This tight spacing is tighter than seam fastening because the edges take the most abuse. On concrete, use powder-actuated nails with the same 6-inch spacing.
For a finished look, install edging trim along the perimeter. Metal or plastic edging strips cover the raw turf backing and the fasteners. The trim also creates a clean line where the turf meets the surrounding landscape. Fasten the trim with the same staples or nails you use for the turf.
On sloped ground, pay extra attention to the downhill edge. Gravity pulls the turf downhill, stressing that edge more than flat ground. Use closer fastener spacing (4-6 inches) on downhill edges.
Tools for Installing Artificial Turf Without Glue
You don’t need many tools, but the right ones make installation faster and easier.
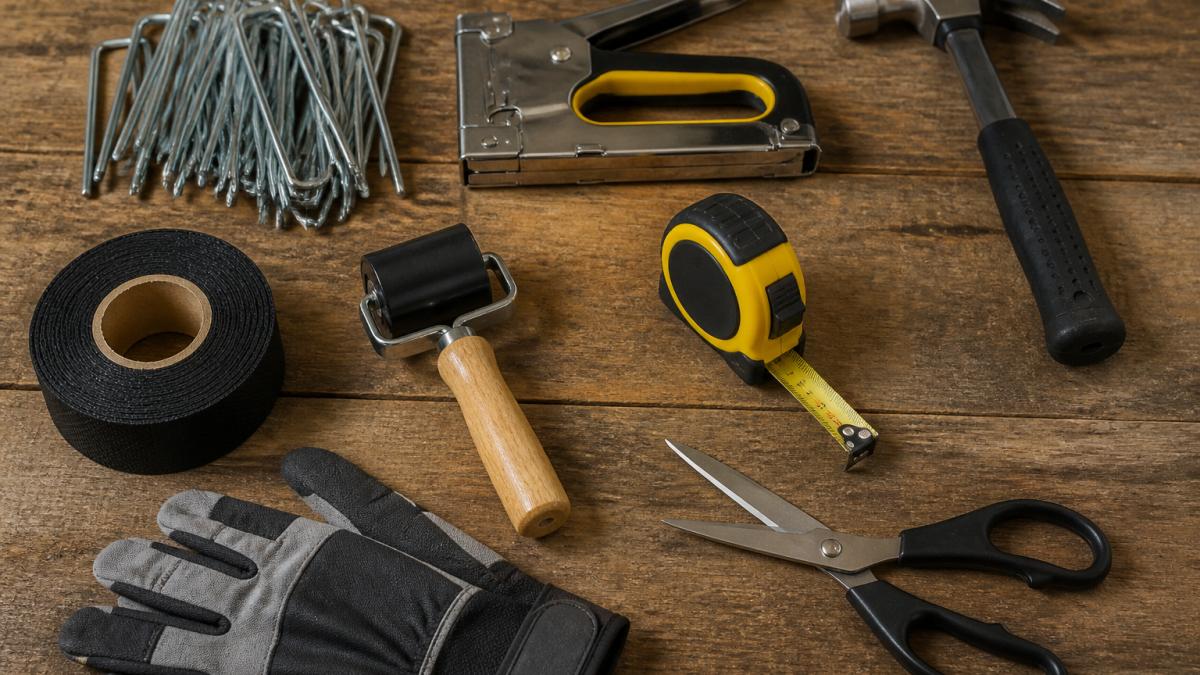
A manual staple gun is essential. It drives U-shaped staples through turf backing into soil or soft ground.
A powder-actuated nail gun is necessary if you’re installing on concrete. Rent one from a home improvement store if you don’t own one. The rental cost is worth the time saved versus drilling holes for concrete anchors.
A hand tamper or plate compactor compacts the soil base before installation. This prevents settling and shifting after the turf is laid. A plate compactor covers larger areas faster than a hand tamper.
A heavy roller (100+ pounds) presses seam tape down firmly. You can rent a lawn roller or use a weighted cylinder filled with sand or water. The pressure creates the friction that holds the tape in place.
A measuring tape, utility knife, and straightedge help you cut turf accurately. Straight cuts at seams prevent gaps and overlaps.
Step-by-Step Installation Process
Step 1: Measure and Plan Your Layout
Measure your installation area carefully. Note the dimensions, any obstacles (trees, structures, slopes), and the direction you’ll lay the turf.
Artificial turf comes in rolls typically 15 feet wide. Plan your layout to minimize seams. Fewer seams mean fewer weak points and faster installation. If your area is 20 feet wide, you’ll need two rows of turf with one seam running down the middle.
Mark seam lines on the ground with chalk or spray paint. This guides you as you lay the turf and ensures straight seams.
Step 2: Position and Align the Turf
Unroll the first piece of turf and position it along one edge of your installation area. Align it straight and ensure the pile direction looks natural (typically pointing away from the main viewing angle).
Unroll the next piece and butt it edge-to-edge with the first piece. Don’t overlap yet, just get the edges touching. Check alignment and make sure both pieces are straight.
Once both pieces are positioned, you can start securing them. But first, join the seams.
Step 3: Secure Edges and Perimeter
Start at one corner and work your way around the perimeter. Drive staples through the turf backing into the ground every 6 inches. Keep the turf pulled tight as you staple, loose turf will wrinkle and shift over time.
Work from the center outward. This prevents the turf from bunching or wrinkling as you fasten it. If you’re working alone, use temporary stakes to hold the turf in position while you staple.
On concrete, use powder-actuated nails instead of staples. Follow the same spacing and technique: drive fasteners every 6 inches around the perimeter, keeping the turf tight.
Step 4: Join Seams Without Adhesive
Lay seam tape over the joint where two pieces of turf meet. Center the tape so it covers half of each piece’s edge. Press the tape down firmly using a heavy roller. Roll back and forth several times to create maximum friction and pressure.
If you’re combining tape with staples, drive staples through the tape into the ground every 12 inches along the seam. This locks the seam in place and prevents the tape from peeling if the turf shifts.
Check the seam by pulling on both sides of the turf. A well-joined seam should not separate. If it does, add more pressure or additional staples.
Step 5: Final Checks and Drainage
Once the turf is fully secured, walk over the entire installation area. Look for wrinkles, bubbles, or loose edges. Smooth out any wrinkles by pulling the turf tight and adding more staples if needed.
Check drainage. Pour water on the turf and watch it flow. Proper drainage is essential for longevity. Water should drain through the turf backing into the ground below. If water pools on top of the turf, the base may need raking or the slope may need adjustment.
Verify that all fasteners are flush with the turf backing. Protruding staples or nails are a tripping hazard and can catch on clothing or paws.
| Installation Step | Time Estimate | Key Focus |
|---|---|---|
| Surface preparation | 2-4 hours | Level ground, remove debris, compact soil |
| Layout and positioning | 1-2 hours | Measure accurately, minimize seams |
| Edge and perimeter fastening | 2-3 hours | Tight spacing (6 inches), secure corners |
| Seam joining | 1-2 hours | Firm pressure on tape, additional staples |
| Final checks | 30 minutes | Drainage, wrinkles, fastener security |
Removable Installation for Rentals and Temporary Spaces
For rentals, events, or temporary installations, removable fastening methods protect the underlying surface and allow quick setup and removal.
Adhesive-backed anchor plates work on concrete. These metal plates stick to the concrete surface using industrial-strength adhesive. Turf fasteners (pins or hooks) insert into the plates.
On soil, use landscape pins instead of staples. Pins don’t penetrate the soil as deeply and pull out more easily. Space pins every 12 inches around the perimeter and along seams.
For temporary installations, skip seam tape and rely on mechanical fastening alone. Staple or pin both sides of the seam every 8 inches.
Document fastener locations before installation. Take photos and note the number and placement of pins or staples. This helps with removal and prevents damage to the underlying surface.
Securing artificial turf without glue gives you flexibility and control over your installation.
Frequently Asked Questions
How do you secure artificial turf without glue?
You can secure artificial turf without glue using U-shaped staples, nails, or pins driven through the turf into the base. For seams, use non-adhesive seam tape held in place with fasteners, or overlap the turf edges and anchor both layers. The method depends on your surface type: concrete requires different fastening than soil or aggregate bases. Proper surface preparation and edge anchoring prevent the turf from shifting or lifting over time.
Can artificial turf be installed on concrete without glue?
Yes, artificial turf on concrete without glue is possible using concrete anchors or wedge fasteners. Ensure proper drainage holes exist to prevent water pooling beneath the turf.
What can I use instead of glue to hold artificial grass in place?
Alternatives to glue include U-shaped turf staples, galvanized nails, landscape pins, non-adhesive seam tape with mechanical fasteners, and overlapping installation methods. For concrete, concrete anchors or wedge fasteners work effectively. Choose based on your surface type and whether you need a removable installation.
How do you keep artificial turf from moving on a patio?
On a patio or concrete surface, secure the turf using concrete anchors or wedge fasteners. Use a perimeter border or edging to contain the edges and prevent peeling. Ensure the base is level and clean of debris that could create gaps. For added security, use non-adhesive seam tape at any joins and overlap edges, anchoring both layers. Proper drainage prevents water from lifting the turf.